Showing posts with label instapot recipe. Show all posts

Tuesday, April 25, 2017

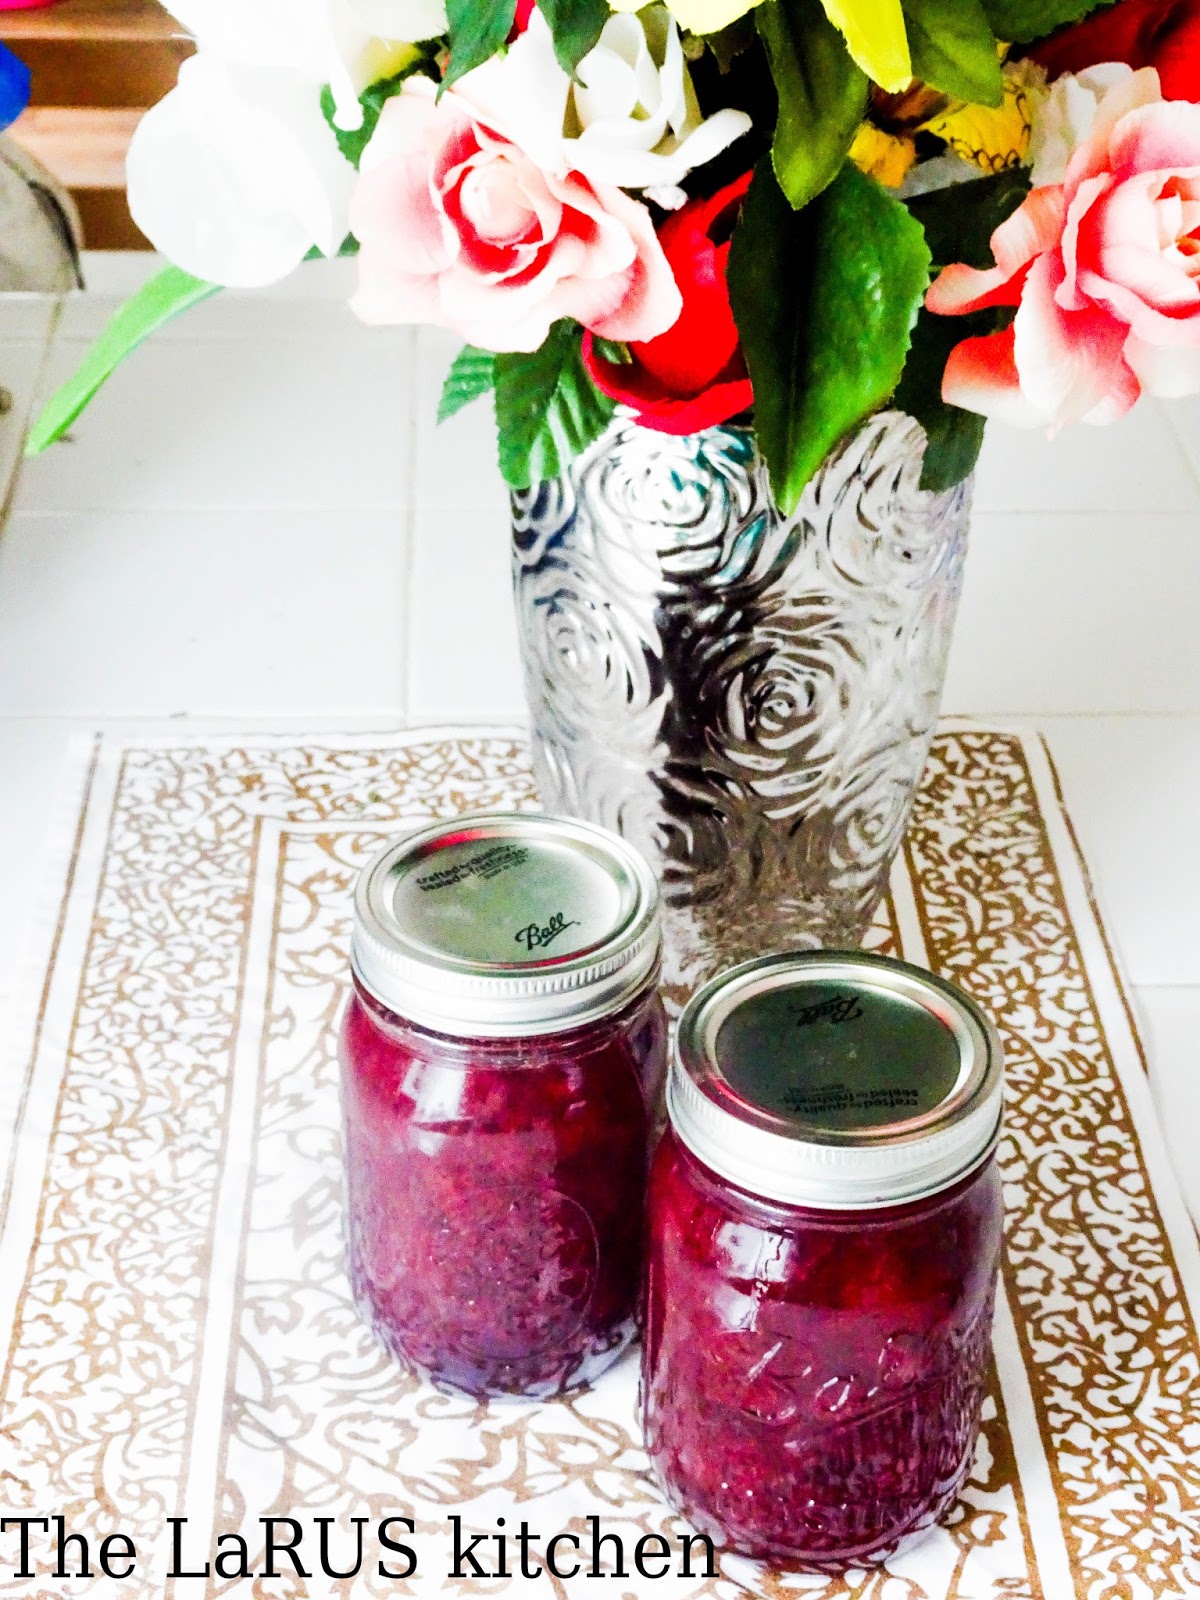
Strawberry Jam in Instapot


Today I went ahead and prepared myself for a big kitchen fail. Canning is something I've never worked with. It just seemed so complex, like it requires a lot of tools and knowledge. But I decided to give it a try because the recipe I found somewhere online that was in the "I want to try one day" pile looked so easy. And it's an Instapot recipe! I was curious but didn't have any expectations.
First you will need to sterilize your mason jars.

Method:
Put them in a large pot. Completely cover them with water. Bring to boil over high heat. Boil for 15 minutes. Turn off the heat. If you are not quite ready  to fill the sterilized jars and proceed with canning your recipe, you can leave them in the pot for up to an hour. If you will wait longer - you will have to sterilize them again.

Recipe
1 pound of fresh strawberries (sliced)
2 1/3 cups of sugar
4 TBsp of lemon juice

Directions
Turn on the Instapot on saute, add sliced strawberries, sugar and lemon juice.

Cook until all sugar is melted. Turn off the saute option. Put it on manual and let it cook for 5 minutes, natural release. If you have any chunks left - you can use masher to help with that.
Next turn on the saute option and cook your mixture for about 8 minutes. Turn off the saute.

Here is a little trick how you can know that the jam is ready. Before you start this recipe, put a little bowl in the freezer. Now put some of the jam into the bowl and put it back to the freezer for just a minute. Take it back out. Check it with your finger - if it's still runny, cook a few minutes longer.
I was worried that the jam would be like compote, but after a few hours it got thicker.
I'm trying to be honest in all of my posts so I don't know if this product is stable enough to keep it on the shelf in your pantry. I guess you can try with one jar in the fridge and one in the pantry.
Taste - what I love about this jam is that it's not sickly sweet, even though I added 2 1/3 cups of sugar. I'll definitely be doing this again.

Saturday, March 11, 2017

Pilaf in Instapot

From Wikipedia:

Pilaf is a dish in which rice is cooked in a seasoned broth. In some cases, the rice may attain its brown or golden color by first being sautéed lightly in oil before the addition of broth. Cooked onion, other vegetables as well as a mix of spices may be added. Depending on the local cuisine, it may also contain meat, fish, vegetables, pasta, and dried fruits.


Pilaf and similar dishes are common to Balkan, Middle Eastern, Caucasian, Central and South Asian, East African, Latin American and Caribbean cuisines. It is a staple food and a national dish in Afghan, Armenian, Azerbaijani, Bangladeshi, Balochi, Bukharan Jewish, Cretan, Indian, Iranian, Kazakh, Kyrgyz, Kurdish, Pakistani, Swahili (Kenyan, and Tanzanian-Zanzibari), Uyghur, Uzbek, Tajik and Turkish cuisines.

You can use chicken, beef or lamb (prefer) for this dish. I used meat for stewing this time. It's very easy to cook and fast as well.


You will need

1 pound of meat of your choice (cut to bite size pieces)

1 middium to big size onion (dices)

1 big carrot (shreded)

3-4 sweet baby peppers (optional) - cut to rings

1 cup of jasmine rice

1.5 cup water

Spices

1.5 Tbsp of Vegeta (sometimes it's hard to find at stores)

1 Tbsp of seasoning salt

1 clove of garlic

Salt and pepper

Sometimes I use a specific spice for this dish when I have it. I can't buy it at the regular grocery store. You either need to go to the European market or you can get it off here.... but it's worth it!


Directions

Put your meat (cut to bite size pieces), shredded carrots (use the large holes on the cheese grater), diced onion, cut peppers to your pressure cooker.

Add all spices except salt, pepper and garlic. Add 1 Tbsp of oil. Turn pressure cooker on and press sautée. Cook on high temperature for about 15 minutes mixing from time to time. Turn the sautée option off. Add water and rice and the rest of the spices.

Don't dice, cut or don't do anything else to the garlic - just put the whole thing in - don't worry, you breath won't smell bad. ;)

Cook on manual (high pressure) for 17 minutes, natural release.

Enjoy your dinner or lunch!

Tuesday, March 7, 2017

Homemade Yogurt in Instapot

When I got my Instapot, I didn't know anything about it, and particularly the yogurt option (I'm still learning, btw) - just that you have to make yogurt for 8 hours. I said I'm not crazy!!! I thought maybe it uses pressure - super low- but pressure for 8 hours! The idea of leave it running unattended didn't make me very comfortable. Later I learned how it all works. And that yogurt option keeps your ingredients on a certain temperature.
So I've decided to make yogurt today.


You will need
  • 1 Gallon 2% Milk
  • ¼ Cup yogurt with active cultures (I used Mountain High low fat Plain)
  • ¼ - ½ cup sweetener (optional)
  • Cheese cloth or milk bag
Directions
Pour your gallon of milk to the Instapot. Close the lid. It doesn't matter if you put the pressure vent into a venting position or not at this point. (Or at any point in the process, for that matter.)
Press the YOGURT button and press ADJUST right away. Screen will display BOIL. 
Leave it alone for about an hour. Then you will hear it beep. Don't miss it! Screen will display yogurt. Now you need to turn off your Instapot and cool off the milk to room temperature. Remove the pot from the Instapot. If you are in a hurry - you can fill your kitchen sink with some water and put the pot with the milk in it for some time to let it cool off faster.
Then once it's the right temperature, add 1/4 cup of yogurt. Mix with the wisk. Put it back to the Instapot. Push the yogurt button. The incubation process will start. Your Instapot will beep and it will take 8 hours. It will count up. So you should have 0:00 on your screen.
In 8 hours all you need to do is drain it using cheese cloth or milk bag, just like I showed you with the cottage cheese recipe.  I would recommend the milk bag, because it was kind of inconvenient and messy with the cheese cloth.
Let it hang in it for an hour.
The yogurt I made wasn't sweet. I like to add berries, jam or granola. 
If you want - you can add sweetener -1/4 to 1/2 cup.

Note: You need to add the yogurt to start the incubation process.  If you prefer, you can use a powdered yogurt starter as well.  You can find a starter on Amazon here.
STORAGE
I use an Ikea KORKEN glass jar. 1.9 qt. If you don't have an Ikea close by, you can order the jar from Amazon here, sold by Ikea. These jars are smaller than what I used, but you don't have to store this whole amount in one glass jar. You can see on the picture how much I made off this recipe.


If you are going to try it please leave feedback how you liked it. I also have a Pinterest board for this blog. Follow me and you will never miss a recipe!.

Friday, March 3, 2017

Homemade Cottage Cheese in Pressure Cooker

Today I managed to make cottage cheese, but some people may call it farmer's cheese. I'm still not sure what the difference is. (If you know the difference, please leave a comment below!)
Growing up I saw my mom making it all the time, and it tasted so good, but I also remember the process of making it was so complicated that I even didn't want to try to participate or ask her to teach me how. But these days we have better technology, so we have so many kitchen gadgets.  Again I used my pressure cooker and just 2 ingredients to make my home made cottage cheese. The recipe I have is from one of my favorite groups on Facebook about Instapot and recipes you can make in it. Most of them are Russian recipes, and they're fast and simple to cook.
So here we go!

You will need
1 gallon of whole milk
Approx. 1 1/2 qt of buttermilk
Yes, that's it!
Directions
The original recipe says put it on warm for 2 hours - that didn't do much for me.
Maybe it depends of what kind of milk and buttermilk you have, I don't know. Anyways, after 2 hours I turned it on yogurt (which keeps it between 96.8° and 109.4° F) for 7 hours, and then it's done. Drain it through the cheesecloth (I got mine at WinCo for $2.50, or you can always find it on Amazon).


Hang it on the faucet to drain for 1-2 hours.
After that you can enjoy your home made cottage cheese.
P.S. Keep the liquid that's left from draining the cottage cheese. I have a great recipe of something you can make with it that I will be posting in a few days. You can store it in the fridge. Also you can substitute it for milk in any recipe.

Correction 3/5/2017: I said that the "yogurt" setting was the same as the "keep it warm" setting.  Not quite.  The two settings use different temperatures.  I've corrected that mistake above.